
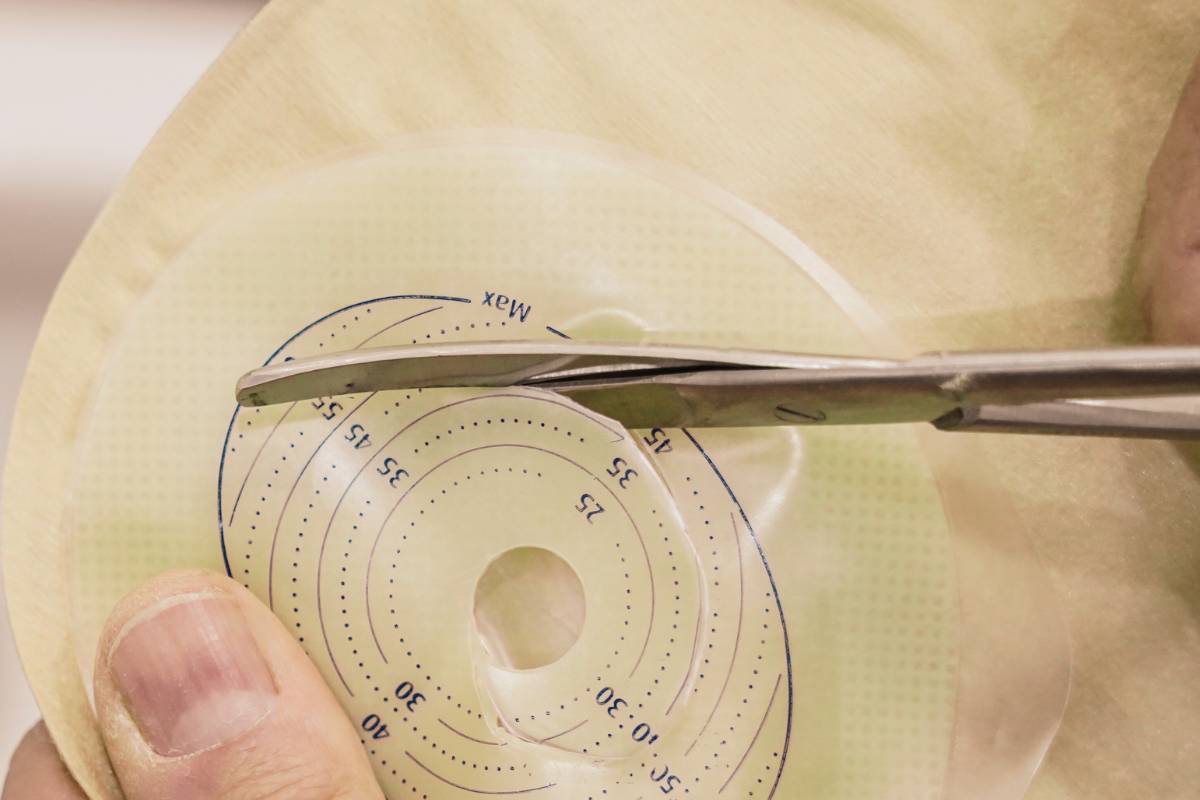
This step by step guide share how to use the stoma crusting technique with an ostomy powder and a skin barrier film to keep your ostomy in place and heal the skin around the stoma.
If you’ve ever removed your ostomy barrier and noticed that the skin around your stoma is red, raw, or weepy, you’re in the right place. This can make it challenging to get your next barrier to stay in place properly.
Fortunately, there’s a simple and effective solution known as crusting that can help protect your skin and allow it to heal.

In this guide, we’ll explain what crusting is, what materials you’ll need, and how to crust around a stoma for those who are living with an ostomy.
What is Crusting?
Crusting is a technique used to create a temporary protective layer—like a scab—over raw or irritated skin around the stoma. This layer provides a stable surface for your ostomy barrier to adhere to, while simultaneously creating a healing environment for your skin.
This method that teaches how to crust a stoma, is not meant for prevention but is specifically for managing raw or damaged skin.
Crusting: What You’ll Need
To master crusting around a stoma, you’ll need the following items:
Stoma Powder
This helps absorb moisture from weepy skin and forms the foundation of the protective crust.
Skin Barrier
Options include barrier pads, barrier wipes, or barrier sprays.
For raw or irritated skin, it’s recommended to use a no-sting formulation.
Step-by-Step Crusting Technique for Ostomy Care
Proper ostomy care is vital for maintaining skin health and ensuring the effectiveness of your ostomy appliance. One of the key techniques in ostomy care is the step-by-step crusting method, which creates a protective barrier around the stoma, helping to prevent leaks and irritation.
This technique involves applying a protective crust over the skin to secure the ostomy pouch and absorb moisture, reducing the risk of skin damage.
By mastering the crusting technique, you can enhance the fit and comfort of your ostomy appliance, improving your overall quality of life. Follow this guide to learn how to use the crusting method for optimal ostomy pouch sealing and skin protection.
Step 1: Prepare the Skin
Gently clean and dry the area around your stoma.
Step 2: Apply the Stoma Powder
Sprinkle a thin to medium layer of stoma powder over the affected area.
Smooth it out gently to ensure even coverage.
Step 3: Activate the Powder
Use a barrier pad, wipe, or spray to lightly moisten the stoma powder.
If using a pad, fold it over for better control and dab it over the powdered area. Avoid rubbing.
Step 4: Dry the Area
Fan the area to help the crust dry. Many healthcare professionals will tell you to avoid using a hair dryer, as this is not evidence-based and could harm sensitive skin.
Personally, I’m a big fan of hair dryers. Ice maker frozen? Hair dryer. Wrinkles in your shirt? Hair dryer. Need to slow down cars in the neighborhood? Stand at the curb, point the hair dryer like a radar gun, and watch them panic.
Sure, they’ll slow down out of confusion, but hey, mission accomplished. Hair dryers: the Swiss Army knife of questionable life hacks.
Once dry, the crust will appear opaque and slightly hardened.
Step 5: Repeat the Process
Apply a second (or even third) layer of stoma powder and repeat the activation and drying process. This builds a robust temporary scab-like layer.
Step 6: Apply the Ostomy Barrier
Once the crust is complete and fully dry, apply your ostomy barrier as usual. The crust provides an excellent surface for adhesion and protects the raw skin underneath.
How Crusting Helps
By creating a stable and protective layer, crusting allows the ostomy barrier to stay in place securely. This helps:
- Prevent further irritation.
- Create a healing environment for the skin.
- Ensure the next removal is less uncomfortable.
When you remove your barrier next time, you should notice improvement in your skin’s condition.
Important Notes
- Use Only When Needed: Crusting is not a preventative measure. It is useful when needed for areas that are already irritated or weepy. Crusting isn’t necessarily going to heal red, dry skin but it can help support healing and is usually only for specific cases with moisture.
- Be Gentle: Avoid applying excessive pressure during the process to prevent further irritation.
- Consult Your Ostomy Care Team: If you have persistent skin issues, reach out to a healthcare professional for personalized advice.
Crusting is a straightforward and effective method to manage raw, irritated skin around an ostomy. With the right materials and technique, you can create a protective barrier that supports healing and ensures your ostomy barrier stays in place.
If you’ve found this guide helpful, or if you have tips or experiences to share, let us know in the comments. Be sure to connect with me on social media, I look forward to seeing you there!
Sign up for the free newsletter, follow along on social media Pinterest|Instagram|Facebook|Twitter|YouTube|TikTok and use #OstomyOnTheGo.
I am having trouble getting a Crust to form. How long should Iwait for the crust to dry and harden.
Hi James, I am sorry to hear that you are struggling with this and hope this can help. There is no specific time limit. The crust must appear opaque (no longer wet). The layer must be fully dry and slightly hardened, like a thin, delicate scab.
If you are repeating the layers (Step 5), wait for this dry, opaque result between each application. When applying your final ostomy barrier (Step 6), make absolutely sure the crust is 100% dry and hardened for the best seal.
Thanks for stopping by and leaving a comment.
As indicated, you just want it to be completely dry. If you try to apply while the mixture is still too damp, it’s more likely to not adhere and pull away. I usually fan for several minutes then touch test with my finger. It should feel something like medium grit sandpaper to your finger…slightly gritty and dry. If output control is a problem during the process, eat some marshmallows about a half hour before starting. Also, I was taught early on to cover the entire surrounding area with barrier fluid, but turns out this probably isn’t the best way. I now spot treat irritations with powder (stoma + a little unscented antifungal mixed in) and barrier wands. They are like big q-tips soaked with barrier fluid and it’s a lot easier to apply with precision. I’ve found that leaving non-irritated skin free of barrier fluid seems to lead to clearer overall skin. Biggest tip I can give, though, is using adhesive remover spray *liberally* during removal avoids stripping and helps prevent irritation from the start. Soak tape borders with it before pulling, lift edges of tape and barrier extenders and spray underneath. Rubbing with your finger along the way helps to push the fluid along the stuck surface and release without damage. Then clean up any remaining residue with remover wipes once removal is complete. Spend more time and care on that process and you’ll likely find that you’ll have less irritation overall, and less time spent trying to crust once your pouch is off. This allows a quicker change. If your irritation is allergic, that’s a different issue, but the process is pretty much the same. Maybe try different brands of products to find one that irritates the least if that’s the case. Best of luck…we all need it!
Thank you for the comment and the tips, Charles! This is really helpful and may be exactly what someone needs during a struggle that only ostomates can understand. I really appreciate it!